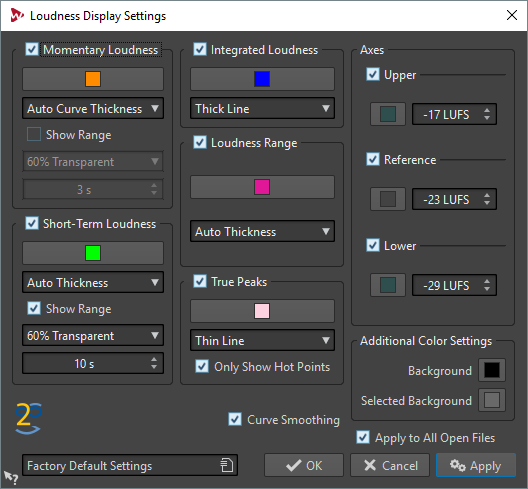
Loudness Display Settings Dialog
In this dialog, you can specify how the loudness waveform is displayed.
-
To open the Loudness Display Settings dialog, select the Loudness tab in the Audio Editor, and click Edit Settings.
Momentary Loudness/Short-Term Loudness
- Color
-
Lets you edit the color of the associated element.
- Curve Thickness
-
Lets you customize the curve thickness. If Auto Curve Thickness is selected, the curve thickness increases when zooming in.
- Show Range
-
If this option is activated, the dynamic range is visualized. This displays the difference between the recent minimum and maximum loudness values. The wider the band, the wider the dynamics.
- Range Transparency
-
Lets you specify the transparency of the range section.
- Range Inertia
-
Determines the inertia of the loudness range, that is, how fast the range edges meet each other after a new minimum or maximum loudness is reported.
Integrated Loudness/Loudness Range/True Peaks
- Color
-
Lets you edit the color of the associated element.
- Curve Thickness
-
Lets you customize the curve thickness. If Auto Thickness is selected, the curve thickness increases when zooming in.
- Only Show Hot Points (True Peaks section only)
-
If this option is activated, the curve is hidden and only the peak overloads are displayed as red bullets.
Axes
- Upper/Reference/Lower
-
Lets you activate several axes, and edit their color and position in the loudness tab to get a visual reference.
Additional Color Settings
- Background/Selected Background
-
Lets you edit the color of the associated element.
Additional Options
- Curve Smoothing
-
If this option is activated, the transitions between the loudness measurements are smoothly drawn. This is less accurate when abrupt changes occur.
- Apply to All Open Files
-
If this option is activated, the settings are applied to all open audio files when you click OK.