Zooming
Horizontal Zooming
-
When you zoom out as far as possible, the entire file fits in the window.
-
When you zoom in as far as possible, each sample occupies several pixels on the screen. This allows for sample-accurate editing of waveforms.
Vertical Zooming
-
When you zoom out as far as possible, the height of the wave fits in the window.
-
As you progressively zoom in, the display only shows a part of the total height. The vertical scrollbar lets you adjust exactly which section is shown. Check the ruler to see which part of the waveform is shown in the display.
-
To optimize the vertical zoom of the waveform, press Ctrl/Cmd, the time ruler, keep the mouse button pressed, and drag the mouse up or down.
High Zoom Level
-
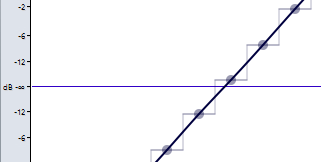
When the zooming level is very high, each sample is shown with a step and a bullet. The steps show the real digitized state, while the bullets make it easier to see the samples, especially for zeroed samples.
-
The curve also represents an estimation of the analog reconstructed signal to give hints on true peaks.

Zooming in the Overview and Main View Sections (Audio Editor Only)
-
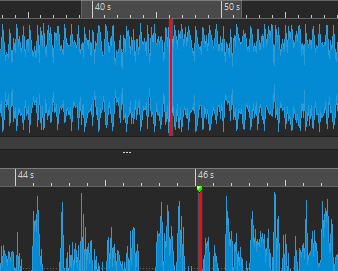
You can have different zoom levels in the overview and in the main view section. In the overview, a range indicator on the time ruler indicates which section of the file is displayed in the main view.
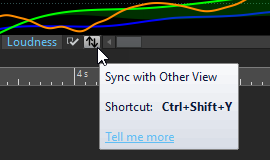
The range indicator is only shown if Sync with Other View is deactivated.

-
To adjust the zoom level, drag the edges of the range indicator.
-
To scroll in the main view, drag the range indicator. The range indicator is located at the top of the overview display.

-
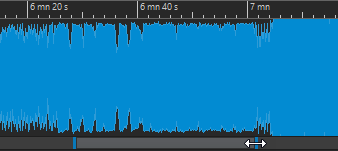
To adjust the zoom level using the scrollbar, drag the edges of the scrollbar.
